
How to update XAMPP for Windows
Introduction
This guide shows you how to update your XAMPP to a newer version.
Prerequisites
- A running XAMPP
Step by step
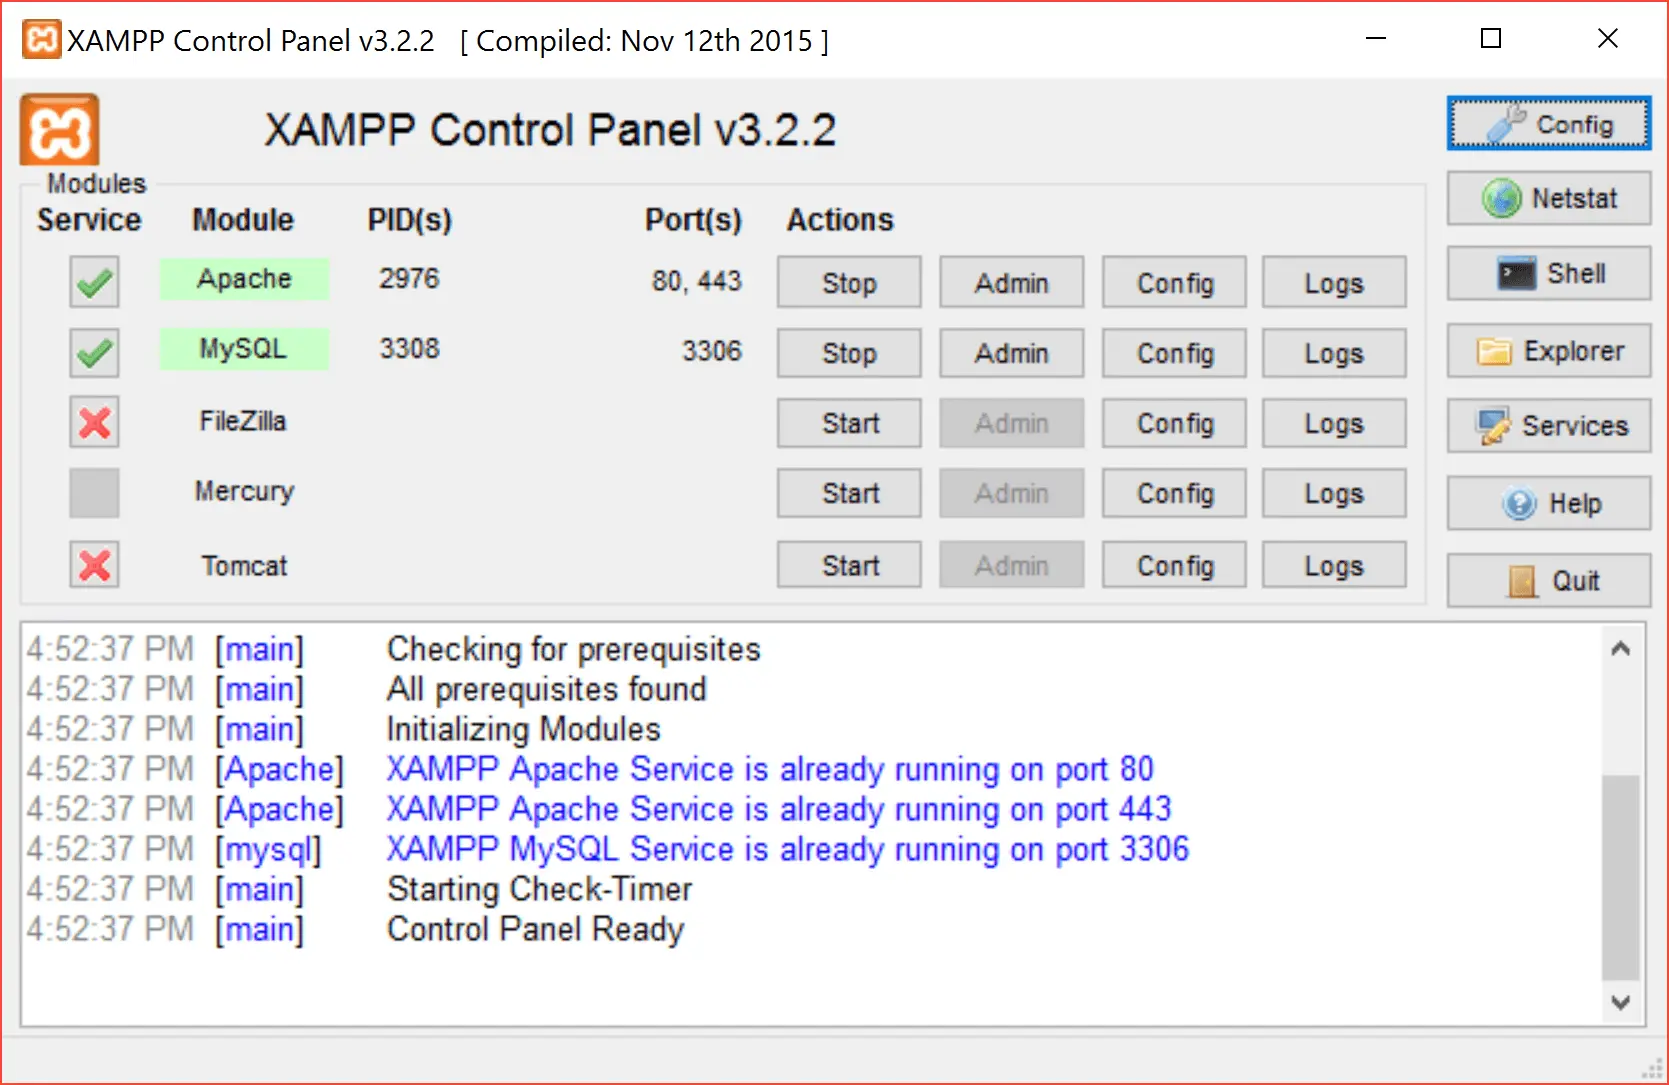
I assume that your XAMPP is installed in D:\xampp.
-
Backup all databases First, backup all your databases, run this command in the cmd Windows, you will get the file
data.sql, copy or move it toD:\data.sql.bashD:\xampp\mysql\bin\mysqldump -uroot -p --all-databases > data.sql -
Rename the old XAMPP Stop all XAMPP's services and rename the XAMPP folder, for instance,
D:\xampptoD:\xampp_old. -
Download new version Download the new version and install it to
D:\xampp. -
Copy config files from old XAMPP From
D:\xampp_old, copy and overwrite those files/folders to the newD:\xampp.inimysql\bin\my.ini mysql\ssl php\php.ini apache\conf\httpd.conf apache\conf\extra\httpd-vhosts.conf apache\conf\extra\httpd-ssl.conf apache\conf\ssl.* -
Re-download PHP ext If you use additional PHP extensions, you must re-download a new version (Thread Safe x86) for your new PHP.
-
Copy htdocs If you have existing sites in your old XAMPP
htdocsdirectory, then copy that folder's content to the new install location. -
Restore databases Start XAMPP, open cmd and run this command to restore the databases:
bashD:\xampp\mysql\bin\mysql -uroot -p < D:\data.sql
Check and make sure everything is OK, then you can safely remove the old XAMPP D:\xampp_old.
Note: Tested with XAMPP 7.0.1, may work with other versions
Conclusion
You now have your XAMPP updated to newer version.
If you found this useful, you can buy me a coffee! Thanks for the support!