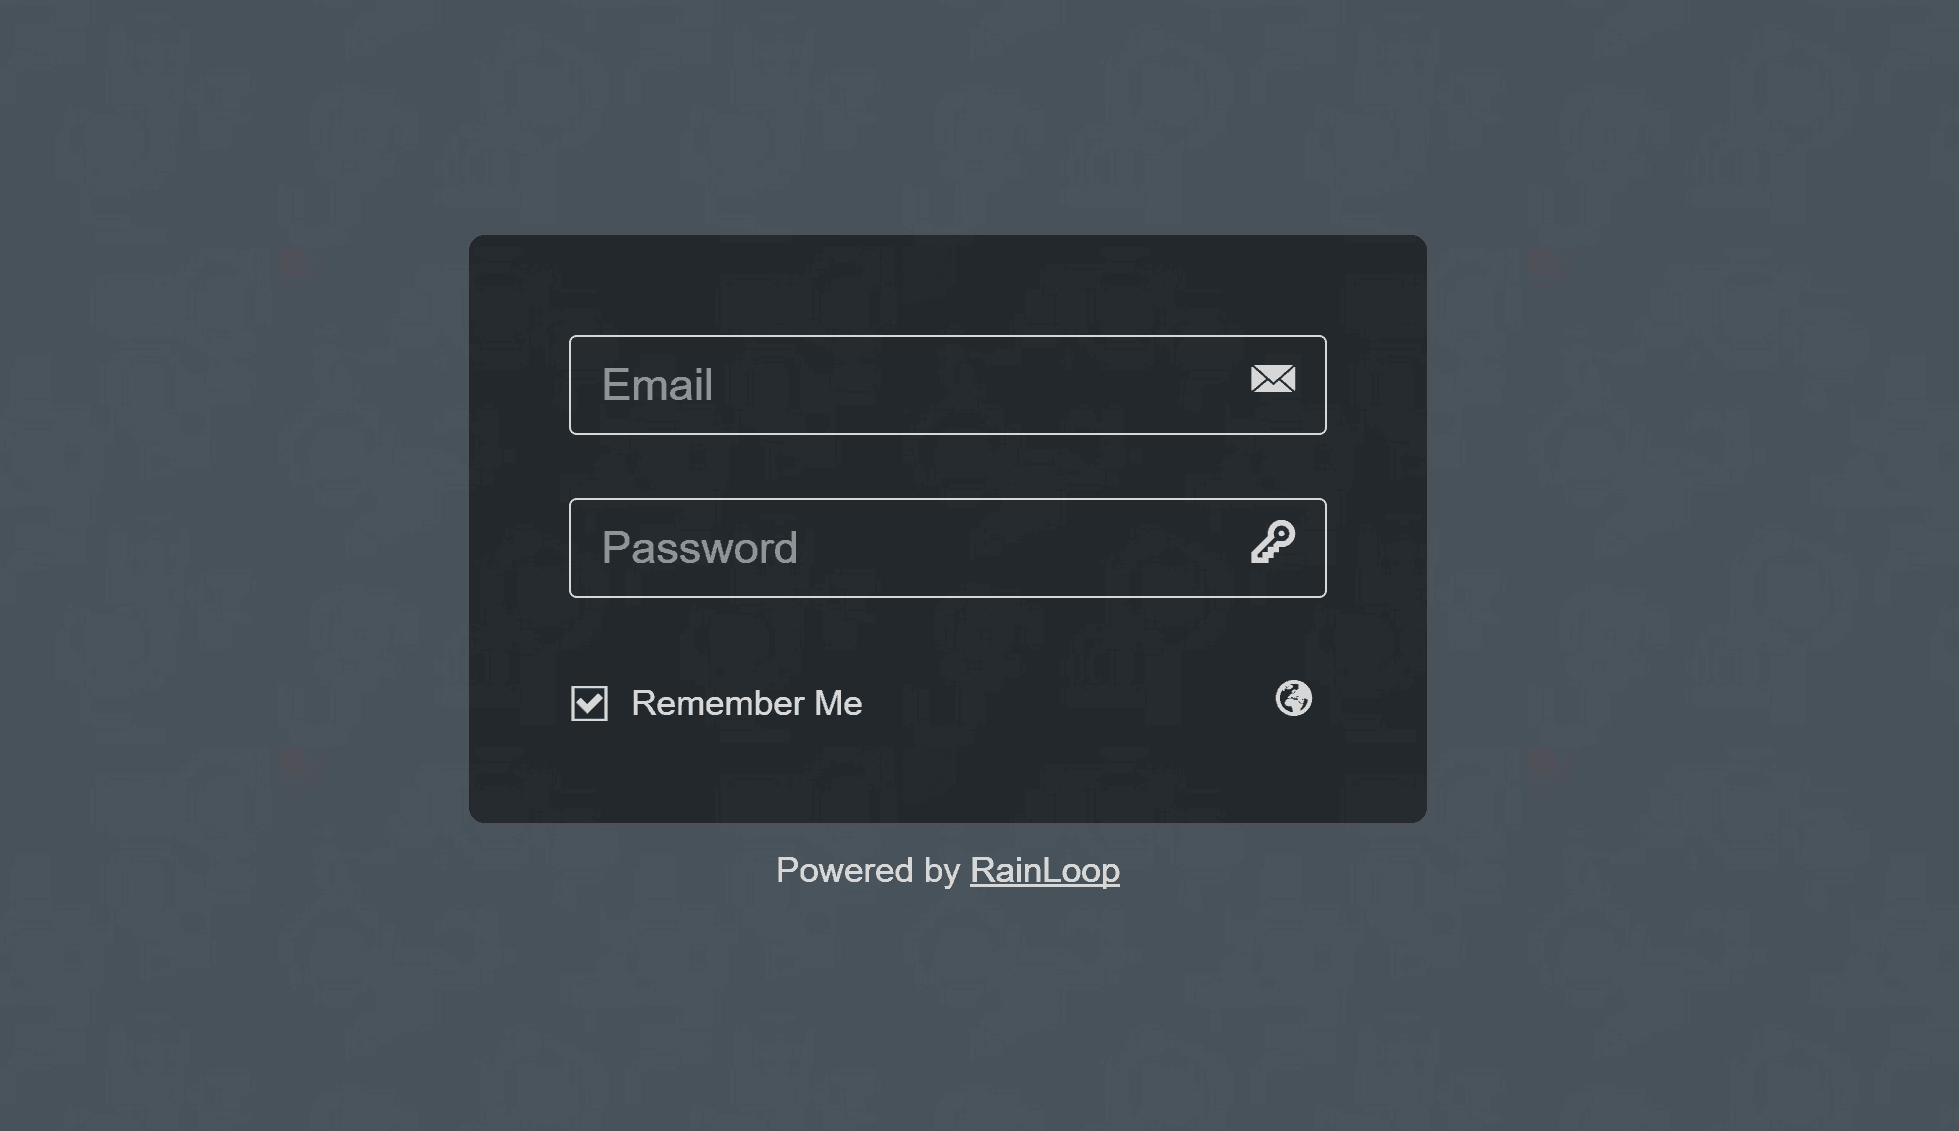
RainLoop webmail for DirectAdmin

Introduction
This guide shows you how to install and configure RainLoop webmail for your DirectAdmin server.
Prerequisites
- A running DirectAdmin server
- Basic knowledge of Linux shell commands
Installation
First, SSH to your DirectAdmin server (with root) and download RainLoop:
cd /var/www/html
wget http://repository.rainloop.net/v2/webmail/rainloop-community-latest.zip
Then, extract the downloaded file to /var/www/html/rainloop and set the permissions:
unzip rainloop-community-latest.zip -d rainloop
cd /var/www/html/rainloop
find . -type d -exec chmod 755 {} \;
find . -type f -exec chmod 644 {} \;
chown -R webapps:webapps .
Configuration
-
Configure the DirectAdmin to use RainLoop:
nano /usr/local/directadmin/conf/directadmin.confSet
webmail_link=rainloopThen restart the DirectAdmin service:
service directadmin restartDisable other webmails:
cd /usr/local/directadmin/custombuild ./build set roundcube no ./build set squirrelmail no ./build rewrite_confs -
Update RainLoop admin password Go to
http://hostname.server.com/rainloop/?admin, the defaultusername/passwordisadmin/12345, so login and change your password. -
Configure login Click "Login" tab, enter your server's hostname as the Default Domain and check "Try to determine user domain".

-
Configure domains Click "Domains" tab, uncheck all domains and then click "Add domain" button.
-
Set Default Domain

-
We need to add another wildcard domain.

-
Add RainLoop Alias pointing to
/var/www/htmlcd /usr/local/directadmin/custombuild mkdir custom echo "rainloop=rainloop" >> custom/webapps.list ./build rewrite_confs
Note
- To protect your server, I recommend you enable reCaptcha for the RainLoop.
- If you want to use the contacts feature, then select MySQL for the Storage.
Conclusion
Now you have DirectAdmin with the beautiful RainLoop webmail.